I love my stamp club. More over, I love the people who come and visit me every SINGLE month and take the time out of the busy schedules to take a little time for themselves. I try and make stamp club the one hour escape from the every day. It's only once a month and my clubbers are like part of the family.
Relationships have been formed and friends come together. What really excites me is that friends meet here become closer and schedule time together outside club. Grandmothers and granddaughters find a fun thing to bond over and more... I love even more when creativity blossoms right in front of me.
My girlfriends Gina and Bonnie have been stamping with me for over 6 years. In fact, they have been demonstrators (for the discount mostly) on my team for just about that long too. One thing I love about a bunch of smart, wonderful ladies gathering together is right here! This month when Gina and Bonnie visited me, they took my "best of flowers" project from class and redesigned it a bit. They so made it better. (swoon!). Instead of sharing my project from this month, I'd like to show you what they made during class. First, here is Gina's version of the Best of Flowers card from class.

Here's a look at the Best of Flowers Stamp Set. Three of these images are from sets across Stampin' Up!'s 25 years and one is a brand new, never seen before image. I love the images in this one particularly! The flower from "because I care" is much smaller in the new stamp set, so it coordinates with the one I have tucked away in the stash I'll never sell. :) The "best of" stamp sets are only $14.95 plus tax (where applicable) and shipping.

Aren't they beautiful?

Thanks for stopping by today!
Love,
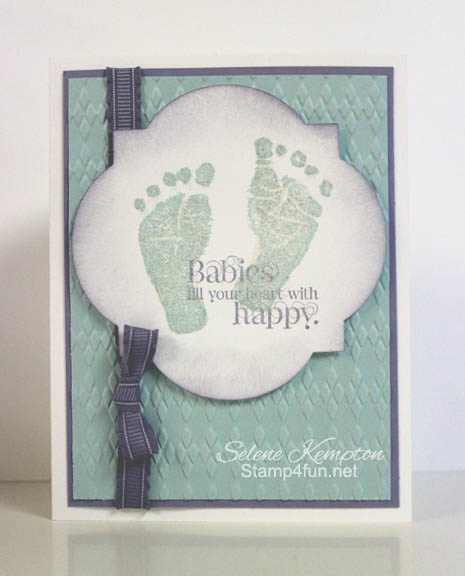
Selene Kempton
Stampin' Up! Creative Coach
My Stampin' Up! Store